

Quick answer
- Start by opening your hardware wallet app, selecting your Bitcoin account, and generating a new receiving address. If your device has a screen for address verification, confirm that every character shown on the device matches the address in the app.
- On Bitkub, select BTC and withdraw through the BTC (Bitcoin) network. Paste the receiving address you have verified. Do not select Bitcoin Cash, BNB Smart Chain, or another network.
- For your first withdrawal, send a small test amount that is above the minimum withdrawal and allows for the fee. Wait until it arrives in the correct wallet before withdrawing the remaining balance.
- Check the address, network, withdrawal amount, fee, and net amount again before confirming. A Bitcoin transaction cannot be canceled once it has been sent and confirmed.
- As of August 22, 2026, Bitkub lists the minimum BTC withdrawal as 0.00004 BTC and the withdrawal fee as 0.00002 BTC. Fees can change several times a day, so always check the figures shown on the withdrawal screen.
Withdrawing Bitcoin from Bitkub to a hardware wallet means sending BTC from your exchange account to a Bitcoin address whose private keys you control. The process itself does not take long, but accuracy matters more than speed. Once a transaction has been submitted to the Bitcoin network, the sender cannot reverse it in the way an online purchase can be canceled.
The coins are not physically moved into the hardware wallet. Bitcoin remains recorded on the blockchain, while the hardware wallet protects the keys used to authorize spending from that address. If the Wallet Backup or Recovery Seed has been backed up correctly, the wallet can still be recovered if the device is lost or damaged.
This guide applies to several hardware wallet brands. Menu names may vary slightly by app and model, but the core process remains the same: generate a receiving address from a Bitcoin account, verify it through a trusted source, make a test transfer, and check the transaction on the blockchain after withdrawal.
What to prepare before withdrawing Bitcoin
1. Set up your hardware wallet
Set up the device through the manufacturer's official app, update its firmware as recommended, create a PIN, and record the Wallet Backup or Recovery Seed on material that can be stored offline. Do not photograph it, store it in the cloud, send it through chat, or enter it on a website.
If a new device arrives with recovery words already written down, do not use that wallet. The backup words must be generated during a setup process that you perform yourself.
2. Install the official app and add a Bitcoin account
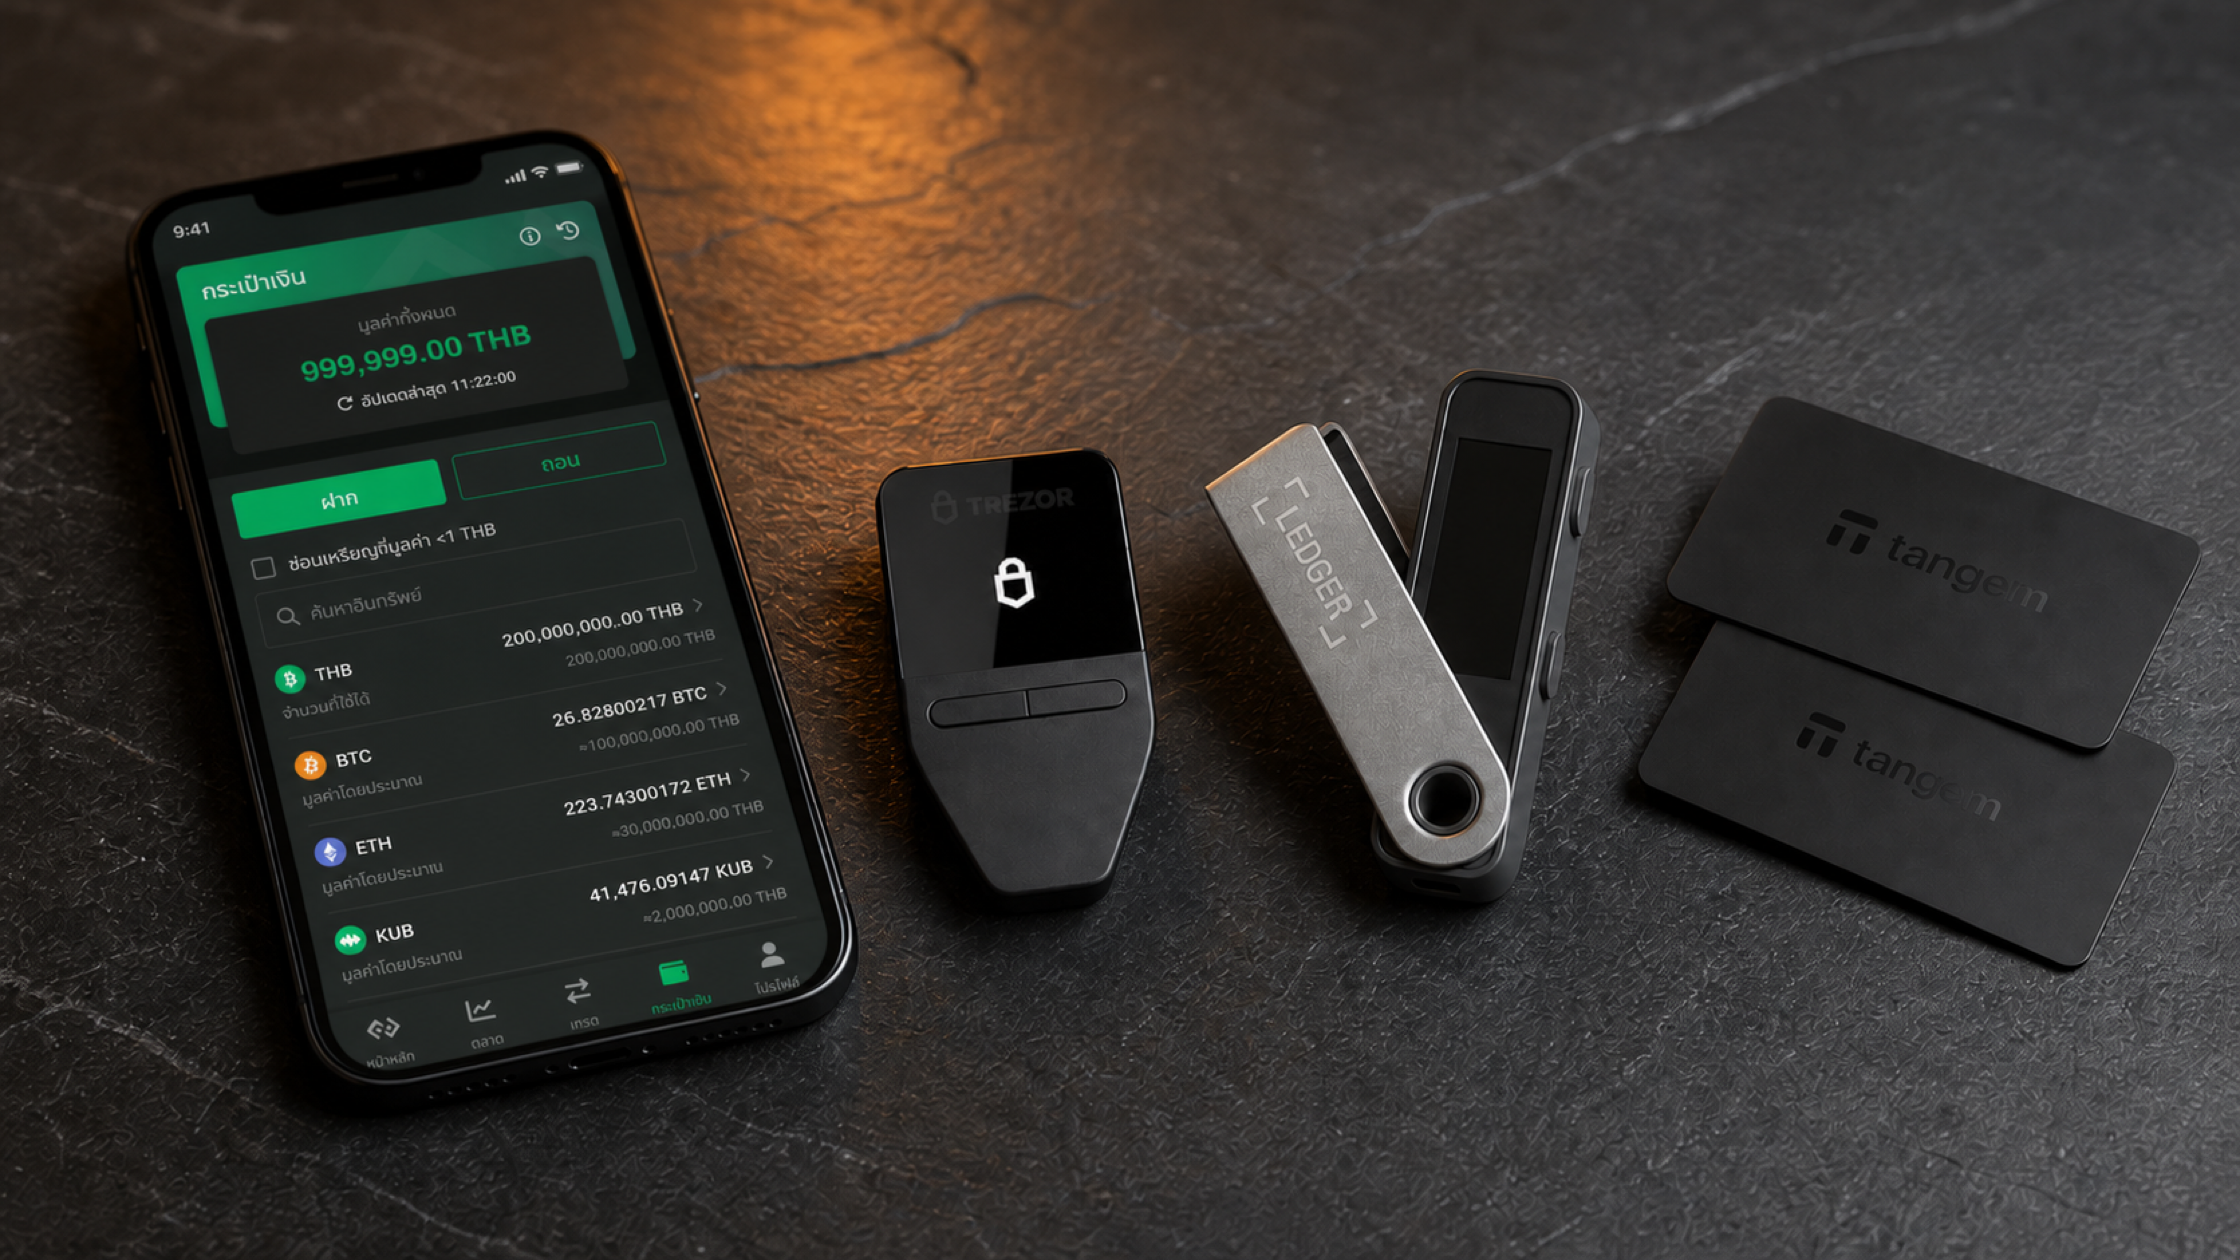
Apps used to manage devices include Trezor Suite, Ledger Wallet, and Tangem App. Bitcoin-focused devices may use the manufacturer's app or connect to compatible wallet software. Download software only from the official website or app store, and avoid advertisements that appear in search results.
Add a Bitcoin account inside the app before continuing. Do not confuse Bitcoin with Bitcoin Cash, which is a different asset on a different network despite the similarity in their names and some symbols.
3. Make sure your Bitkub account is ready
Your Bitkub account must have completed identity verification and have sufficient withdrawal limits. The system may request additional verification depending on your account level, security settings, or destination information. Two-factor authentication should be enabled, and you must be able to access the email address or other verification channel linked to the account.
4. Plan the test amount
A test withdrawal confirms that the address, network, and destination wallet are correct before you send a larger amount. Each withdrawal carries a fee, so the test amount must be above the minimum withdrawal and leave a net amount that is clearly visible in the destination wallet.
| Bitkub information | Figures checked on August 22, 2026 | What to do |
|---|---|---|
| BTC network | BTC (Bitcoin) | Select the network that matches the Bitcoin account in your hardware wallet |
| Minimum withdrawal | 0.00004 BTC | The withdrawal amount must not be below the minimum |
| Withdrawal fee | 0.00002 BTC | Check the latest figure on the withdrawal screen because the fee can change |
The figures above reflect the information available on the stated date. Bitkub says digital asset withdrawal fees are adjusted several times a day. Always rely on the figures displayed in your account immediately before confirming a transaction.
How to withdraw Bitcoin from Bitkub to a hardware wallet step by step
Step 1: Open your Bitcoin account in the hardware wallet app
Connect and unlock the device using the method required by your model, then open the Bitcoin account you want to receive funds into. If the app offers several account types, such as SegWit, Taproot, or Legacy, use the app's recommended default unless you have a technical reason to choose another type.
Step 2: Select Receive and generate a new address
Select Receive. The app will display a Bitcoin address, usually together with a QR code. Common SegWit addresses often begin with bc1, but the prefix alone is not enough to establish that an address is correct. You must verify both the network and the actual address.
For Bitcoin, using a new address for each incoming transaction makes it more difficult to link your transaction history and provides better privacy than repeatedly using the same address, even though an old address can still receive funds technically.
Step 3: Verify the address on the hardware wallet screen
If the device has a screen, display the full address on the device and compare every character with the address shown on your computer or phone. This helps detect malware that may replace an address while it is being copied.
Do not check only the first and last characters when withdrawing a large amount. Comparing the beginning and end is useful as a quick second check, but the first verification of a receiving address should cover the complete address. If the device has no screen, inspect the address carefully in the official app and place even greater importance on making a small test transfer first.
Step 4: Copy the verified receiving address
Copy the address directly from the wallet's Receive screen. Do not retrieve it from an old message, chat history, or screenshot. After pasting the address into Bitkub, compare it with the address shown on the hardware wallet again because some malware can alter clipboard contents.
Step 5: Open Bitkub and select BTC withdrawal
Sign in to Bitkub through the official website or app, open your asset wallet, select BTC or Bitcoin, and choose Withdraw. The location and label of the button may change between app versions, but the process must begin from the BTC asset.
Step 6: Paste the address and select the Bitcoin network
Paste the receiving address into the destination field or scan the QR code from the wallet app. If the system asks you to choose a network, select BTC (Bitcoin). It must match the Bitcoin account created in your hardware wallet.
Do not select the wrong option
- BTC is not BCH or Bitcoin Cash.
- Bitcoin Mainnet is not BNB Smart Chain, Ethereum, or a Wrapped Bitcoin token network.
- A Lightning Network address is not the on-chain Bitcoin receiving address used in this guide.
- Do not choose a network simply because its fee is lower if the destination wallet does not support the same asset and network.
Step 7: Enter the destination information requested by the system
Bitkub may ask for information about the recipient, wallet type, country, or purpose of the transaction based on applicable requirements and risk assessment. If the wallet is one you control, select or enter the information truthfully. Never give Bitkub or anyone claiming to be support staff your Wallet Backup, Recovery Seed, Private Key, or PIN. None of these are required for a withdrawal.
Step 8: Enter the BTC amount for the test withdrawal
Your first withdrawal should be a small amount. Make sure it is above the minimum and that you accept the fee. The review screen should show at least the withdrawal amount, fee, and net amount to be sent. Base your decision on the net amount, not only the amount you entered.
For example, if the fee at that time is 0.00002 BTC and the system deducts it from the withdrawal amount, the amount arriving at the destination will be lower than the amount entered. Follow the calculation method and net amount shown on Bitkub's actual confirmation screen because the presentation can change.
Step 9: Review every detail before confirming
Pause and read the summary at least once. Check that the asset is BTC, the network is Bitcoin, the address matches the hardware wallet, the amount is correct, and the fee is acceptable. If anything does not match, cancel the transaction and start again instead of guessing.
Step 10: Complete the security confirmation
Confirm the transaction using the password, two-factor authentication, email, or other steps required by Bitkub. Read all information in the confirmation message before approving it, and never give an OTP to another person, even if they claim to be an employee.
Step 11: Wait for the test amount to reach the wallet
After Bitkub sends the transaction, the system will show its status and a Transaction ID or TXID. Once the transaction has propagated to the network, the amount may first appear in the hardware wallet app as unconfirmed. It will change to confirmed after the transaction is included in a block.
The time required depends on network congestion and the fee selected by the sender. Do not send the transaction again simply because the amount has not appeared immediately. Check the withdrawal status and TXID first.
Step 12: Verify the amount before withdrawing the remainder
Once the test amount appears in the correct Bitcoin account and has been confirmed, generate a new receiving address, verify it on the device again, and withdraw the remainder. Repeat every verification step. A successful test does not mean you should skip address verification on the next withdrawal.
Checklist before you confirm
- Asset: The withdrawal screen says BTC or Bitcoin, not BCH or another asset.
- Network: BTC (Bitcoin) is selected and matches the Bitcoin account in the destination wallet.
- Address: The address in Bitkub matches every character shown on the device screen if the device supports address display.
- Amount: It is above the minimum withdrawal and within the account limit.
- Fee: You have checked the latest fee and net amount to be received.
- Recipient information: The information is truthful, and no backup words or private key have been disclosed.
- Test transfer: A small test should be made for a new address or device.
- Device security: You are using the official app, no third party is remotely controlling your screen, and nobody is pressuring you to make the withdrawal.
What to check after the withdrawal
Check the status in Bitkub
Open the withdrawal history and check whether the transaction is under review, processing, successful, or unsuccessful. If it has not yet been sent, there may be no TXID. Wait for the system result before creating a duplicate withdrawal.
Check the TXID on a block explorer
Once a TXID is available, open it through a reputable block explorer to see the destination address, amount, and number of confirmations. Looking up a TXID never requires a Wallet Backup, Recovery Seed, or Private Key. Close any website that asks for this information.
Check the account and net amount in the wallet app
The funds should arrive in the Bitcoin account that generated the address and may be lower than the withdrawal amount because of the displayed fee. A hardware wallet does not need to remain connected to receive Bitcoin because the address can receive transactions normally. The device is needed when you verify an address or later authorize an outgoing transaction.
Common problems and what to do
The withdrawal is complete, but the balance does not appear in the hardware wallet
Check the withdrawal status in Bitkub first. If a TXID is available, use a block explorer to see whether the transaction has been broadcast. Then confirm that you have opened the same Bitcoin account and wallet that generated the receiving address. If the device supports a passphrase, check that as well, because a different passphrase opens a different wallet.
The status remains in progress
Do not immediately create another withdrawal. Check Bitkub's system maintenance notices and withdrawal status, as well as any confirmation email that may still require action. If the delay is unusually long, contact Bitkub through an official channel and provide the transaction reference. Do not provide your password, OTP, or hardware wallet backup words.
Bitkub says the address is invalid
Confirm that BTC and the Bitcoin network are selected, remove any spaces before or after the address, and make sure it was copied from the Receive screen of an actual Bitcoin account. If the address is still rejected, do not edit its characters manually. Generate a new receiving address in the official app and verify it on the device again.
The wrong network or address was selected and the transaction was confirmed
Stop making further transactions and immediately contact Bitkub support and the destination service through official channels. However, understand that a transaction that has been sent and confirmed on the blockchain cannot be canceled. Recovery depends on whether someone controls the keys to the destination address and supports the network used, so recovery cannot be guaranteed.
Someone asks for the recovery words to investigate the transaction
This is an immediate warning sign. A public address or TXID is sufficient to inspect a transaction. Bitkub staff, hardware wallet manufacturers, and SIAMBC do not need a customer's Wallet Backup, Recovery Seed, or Private Key.
Hardware wallets that support Bitcoin
The devices below support receiving and managing Bitcoin, but their connection methods, screens, and backup processes differ. Choose according to how you will actually use the device, not only by the number of supported assets.
Trezor Safe 3: On-device address verification and a Bitcoin-only option
Suitable for users who want to receive Bitcoin through Trezor Suite and verify the address on the device screen. It is available with multi-asset firmware and as a Bitcoin-only Edition.

Trezor
฿3,790
- Verify receiving addresses on the device screen
- Manage Bitcoin through Trezor Suite
- Available as a Bitcoin-only Edition
Ledger Nano S Plus: A screen for verification and USB-C connectivity
Suitable for computer users who want to manage Bitcoin through Ledger's app and verify the receiving address on the device screen before pasting it into Bitkub.

Ledger
฿2,060
- Screen for checking addresses and transactions
- Connects to a computer through USB-C
- Supports Bitcoin accounts and multiple asset types
Tangem Wallet 3 Cards Set: Phone-based use with backup cards
Suitable for users who prefer a card format and phone-based management. Because the cards do not have screens, careful address checking in the official app and a small test withdrawal are even more important.

Tangem
฿2,590
- Card format with NFC connectivity
- Manage a Bitcoin account through Tangem App
- The three-card set separates everyday and backup cards
Prices and stock levels can change. Check the latest information on each product page before ordering. Feature support may vary by model, operating system, and app version.
Frequently asked questions
How long does it take to withdraw Bitcoin from Bitkub to a hardware wallet?
There is no fixed time because the process includes Bitkub's review time and Bitcoin network confirmation time. Once a TXID is available, you can check it on a block explorer. The transaction may appear as unconfirmed in the wallet app before it receives full confirmation.
How much is the withdrawal fee?
As of August 22, 2026, Bitkub's fee page lists the BTC withdrawal fee as 0.00002 BTC and the minimum withdrawal as 0.00004 BTC. However, Bitkub adjusts the fee several times a day, so check the fee and net amount on the withdrawal screen before every confirmation.
Should I withdraw the entire balance at once?
If you are withdrawing to a new device or address, do not send the entire balance immediately. Make a small test transfer first, accept that you will pay the fee twice, and withdraw the remainder only after confirming that the destination wallet is correct.
Can I reuse the same Bitcoin address?
Technically, yes. However, generating a new address for each transaction makes it more difficult to link activity on the blockchain and provides better privacy. Generate the address from the official app and verify it on the device every time.
Does the hardware wallet need to stay connected while waiting to receive Bitcoin?
No. A Bitcoin address can receive transactions even when the device is off or disconnected. The hardware wallet is needed when verifying the address and later when authorizing a Bitcoin transaction out of the wallet.
Does Bitkub need my Recovery Seed to confirm wallet ownership?
No. The Recovery Seed or Wallet Backup is the wallet's most sensitive secret and must never be shared. A platform's destination verification process may require recipient information or other evidence, but it should not require you to enter your wallet backup words.
Can I withdraw BTC to an address beginning with bc1?
An address beginning with bc1 is generally a SegWit or Taproot Bitcoin address, but you must confirm that it was generated from your own Bitcoin account and that the withdrawal page supports that address format. Do not rely on the prefix alone.
Summary
A safe withdrawal from Bitkub to a hardware wallet begins with the destination wallet, not the exchange withdrawal screen. Set up and back up the device first, generate a new receiving address from the Bitcoin account, verify the address on the device screen, and only then use it in Bitkub.
Before confirming, check five essential details: BTC, the Bitcoin network, the receiving address, the withdrawal amount, and the net amount after fees. For a first withdrawal, send a small test amount and wait until it reaches the correct account before withdrawing the remainder. This incurs an additional fee but reduces the potential loss from an irreversible mistake.
After withdrawing, keep the TXID so you can check the transaction on the blockchain. Remember that checking a transaction never requires a Recovery Seed, Wallet Backup, or Private Key. If anyone asks for this information to trace a transaction, treat it as an attempted scam and stop communicating immediately.
Sources and references
- Bitkub: BTC fees, minimum withdrawal, and network
- Bitkub Blog: Selecting BTC, entering an address, and specifying the withdrawal amount
- Trezor: Receiving assets, checking the network, and verifying an address on the device
- Trezor: Bitcoin remains on the blockchain and the role of hardware wallet keys
This article is based on publicly available information verified on August 22, 2026. Menu names, verification steps, limits, minimum withdrawals, fees, and system availability can change. Check the latest information in your Bitkub account and the device manufacturer's official documentation before making a transaction. This content is provided for operational and security education and is not investment advice.
Conclusion
A step-by-step guide to withdrawing Bitcoin from Bitkub to a hardware wallet, from generating and verifying the receiving address to checking the TXID and confirmations.

Share:
What Is a Security Key? How Hardware Keys Protect Against Phishing
Tangem 2 Cards vs 3 Cards: Which Set Should You Choose?